Parts and Accessories
Parts, Accessories, and Modifications
Use only genuine Tesla parts and accessories. Tesla performs rigorous testing on parts to ensure their suitability, safety, and reliability. Purchase these parts from Tesla, where they are professionally installed and where you can receive expert advice about modifications to Model 3Model Y. Accessories are available for purchase from Tesla stores or online at www.tesla.com.
Tesla is unable to assess parts manufactured by other distributors and therefore accepts no responsibility if you use non-Tesla parts on Model 3Model Y.
Accessory Wheels and Tires
If your Model 3Model Y is fitted with Tesla accessory wheels or tires, the Gross Axle Weight Rating (GAWR), wheel, tire, and loading information may be different from the labels shown on the vehicle. Refer to the relevant following section for updated information.
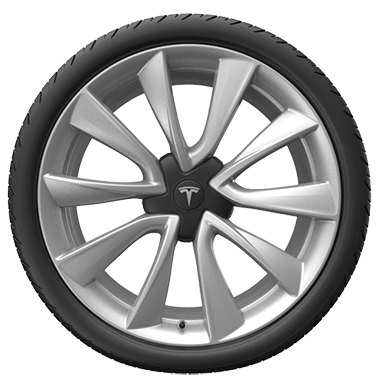
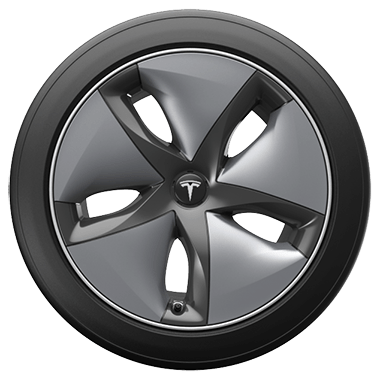
20" Sport Wheels
| Wheels | Location | Width (in) | Offset (mm) |
|---|---|---|---|
| 20" | Front/Rear | 8.5 | 40 |
| Tires (front/rear) | Size | Tire Pressure |
|---|---|---|
| Michelin, Pilot Sport 4S (PS4S) | 235/35ZR20 | 42 PSI (290 kPa)* |
| *Increase the tire pressure to 44 PSI (300 kPa) prior to driving 136 mph (220 kph) or faster. | ||
| GAWR | ||
|---|---|---|
| Front | 2407 lbs | 1,092 kg |
| Rear | 2,767 lbs | 1,255 kg |
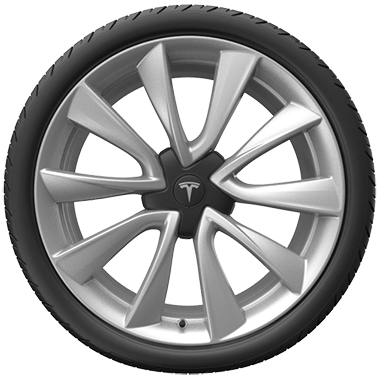
19" Sport Wheels
| Wheels | Location | Width (in) | Offset (mm) |
|---|---|---|---|
| 19" | Front/Rear | 8.5 | 40 |
| Tires (front/rear) | Size | Tire Pressure |
|---|---|---|
| Continental, ProContact RX | 235/40R19 | 42 PSI (290 kPa)* |
| Hankook Ventus S1 Evo3 | 235/40R19 | 42 PSI (290 kPa)* |
| Pirelli Winter Sottozero 3 | 235/40R19 | 42 PSI (290 kPa) |
| *Increase the tire pressure to 44 PSI (300 kPa) prior to driving 134 mph (215 kph) or faster. | ||
| GAWR | ||
|---|---|---|
| Front | 2,447 lbs | 1,110 kg |
| Rear | 2,767 lbs | 1,255 kg |
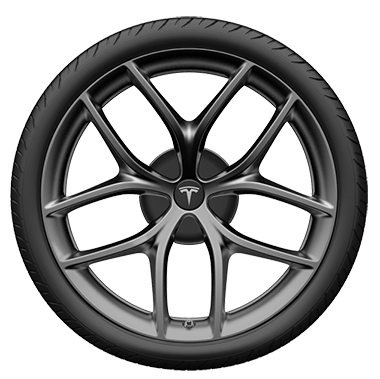
20" Zero-G Wheels (Performance)
| Wheels | Location | Width (in) | Offset (mm) |
|---|---|---|---|
| 20" | Front/Rear | 9 | 34 |
| Tires (front/rear) | Size | Tire Pressure |
|---|---|---|
| Michelin, Pilot Sport 4S (PS4S) | 235/35ZR20 | 42 PSI (290 kPa) |
| Michelin PS Cup 2 | 245/35ZR20 | 42 PSI (290 kPa) |
| GAWR | ||
|---|---|---|
| Front | 2,650 lbs | 1,202 kg |
| Rear | 2,784 lbs | 1,263 kg |
20" Zero-G Wheels (Non-Performance)
| Wheels | Location | Width (in) | Offset (mm) |
|---|---|---|---|
| 20" | Front/Rear | 9 | 40 |
| Tires (front/rear) | Size | Tire Pressure |
|---|---|---|
| Michelin, Pilot Sport 4S (PS4S) | 235/35ZR20 | 42 PSI (290 kPa) |
| GAWR | ||
|---|---|---|
| Front | 2,650 lbs | 1,202 kg |
| Rear | 2,784 lbs | 1,263 kg |
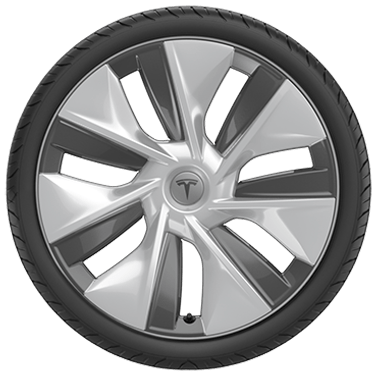
19" Gemini Wheels (Performance)
See Removing and Installing Aero Covers for information on how to remove and install Gemini wheel covers.
| Wheels | Location | Width (in) | Offset (mm) |
|---|---|---|---|
| 19" | Front/Rear | 8.5 | 35 |
| Tires (front/rear) | Size | Tire Pressure |
|---|---|---|
| Hankook Ventus S1 Evo3 | 235/40R19 | 42 PSI (290 kPa)* |
| Pirelli Winter, Sottozero 3 | 235/40R19 | 42 PSI (290 kPa)* |
| *Increase the tire pressure to 44 PSI (300 kPa) prior to driving 136 mph (220 kph) or faster. | ||
| GAWR | ||
|---|---|---|
| Front | 2510 lbs | 1,141 kg |
| Rear | 3,023 lbs | 1,374 kg |
18" Aero Wheels
| Wheels | Location | Width (in) | Offset (mm) |
|---|---|---|---|
| 18" | Front/Rear | 8.5 | 40 |
| Tires (front/rear) | Size | Tire Pressure |
|---|---|---|
| Michelin, Primacy MXM4 | 235/45R18 | 42 PSI (290 kPa) |
| Michelin, Pilot Sport 4 (PS4) | 235/45R18 | 42 PSI (290 kPa) |
| Pirelli Winter Sottozero Serie II | 235/45R18 | 42 PSI (290 kPa) |
| GAWR | ||
|---|---|---|
| Front | 2,447 lbs | 1,110 kg |
| Rear | 2,840 lbs | 1,288 kg |
Body Repairs
If your Model 3Model Y is in a collision, contact Tesla or a Tesla-approved Body Shop to ensure that it is repaired with genuine Tesla parts. Tesla has selected and approved body shops that meet strict requirements for training, equipment, quality, and customer satisfaction.
Some repair shops and insurance companies might suggest using non-original equipment or salvaged parts to save money. However, these parts do not meet Tesla's high standards for quality, fit and corrosion resistance. In addition, non-original equipment and salvaged parts (and any damage or failures they might cause) are not covered by the warranty.
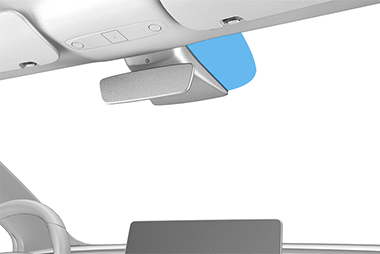
Using RFID Transponders
When attaching an RFID transponder (used by many automated toll systems) inside Model 3Model Y, place the transponder on the passenger side of the rear view mirror as shown. This ensures best results and minimizes any obstruction to your driving view.
Installing Front License Plate Bracket
To accommodate jurisdictions that require a license plate on the front of your vehicle, Model 3Model Y is equipped with a license plate bracket. This bracket conforms to the shape of your vehicle's front bumper and is adhered to it using strong adhesive.
To install the front license plate bracket:
- Get isopropyl alcohol and test it on a non-visible painted surface of your vehicle to confirm that it does not damage or remove the paint.
- Clean the mounting site with isopropyl alcohol and allow to dry for at least one minute.
- Fully remove the protective tape from the adhesive at the top of the bracket and partially remove the tape from the top of the adhesive on each side. Leave the bottom half of the tape on the sides in place and fold the unattached tape outward for easy removal after aligning the bracket to the bumper.
- While tilting the top of the license plate bracket away from the bumper (to prevent adhering it to the wrong location), align the bottom center of the license plate bracket with the middle of the grille as shown.Note: Be as precise as possible when aligning the bracket because you will be unable to reposition it once adhered to the bumper.
- While correctly aligned, move the top of the bracket against the bumper and apply pressure so that it is held in place by the adhesive.
- Remove the remaining tape from the sides of the bracket then press the entire bracket firmly against the bumper, ensuring the bracket is held in place by all adhesive areas.
- Once the bracket is securely mounted, use the four supplied screws to attach your license plate to the bracket (tighten to 3 Nm/2.2 ft-lbs).